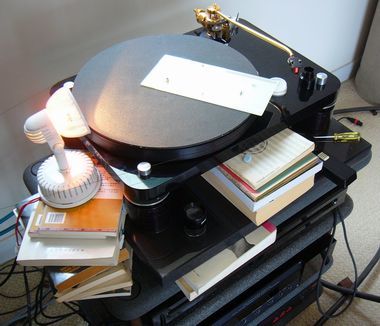
Have a good source of light helps a lot.
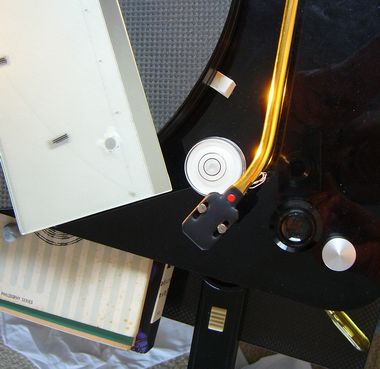
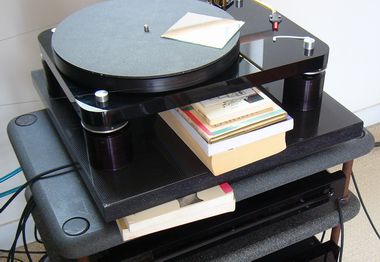
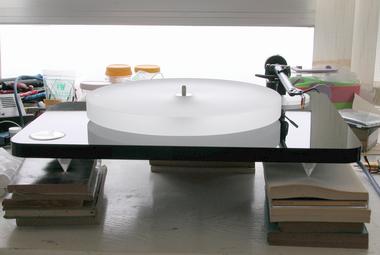
For suspension turntables, arrange some books under the turntable. The top of the books should be very close to the turntable bottom but never touches it. This prevents the turntable from bouncing.
mint
Tips on Getting Perfect Alignment
Last
update: May, 2020
| The above video is made by a
user of Best Tractor. My sincere thanks for his
efforts on such a topnotch production. This video
will make a good complement to the Best Tractor User
Manual. Have Fun! |
A. Excellent
Lighting |
 |
| This is most important: Broad Day Light | Excellent Lighting, a
pre-requisite. Have a good source of light helps a lot. |
B. Recheck Turntable
Level  |
 For suspension turntables, arrange some books under the turntable. The top of the books should be very close to the turntable bottom but never touches it. This prevents the turntable from bouncing. |
| C. Fixing the
Platter |
||||
 |
 |
 |
||
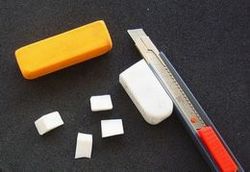
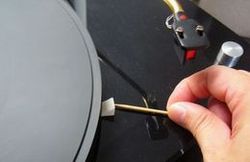
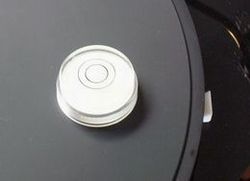
| Take a piece of soft Pencil Eraser Rubber, use a cutter to get some wedge shaped pieces. | Place them under the platter to make it standstill. Use tooth-pick to push it tighty in place. | Recheck Platter Level after doing this task. |
| D. Magnifying
Power - Critical Element |
||
| Best Tractor uses a fine line for
alignment reference. It is important that you use a good
quality 8X or above Magnifying Glass to view the stylus
tip spot on the fine line.
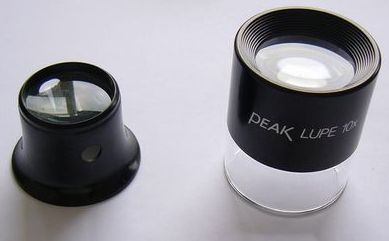
Viewing tool is very important and the 5X eyepiece on the left always tells you are spot on while the 10X Peak Lupe tells you are still way off, one side or the other. Alignment game with Best Tractor is all about the 0.03mm distance. Many users who report excellent results agree with this. |
 |
|
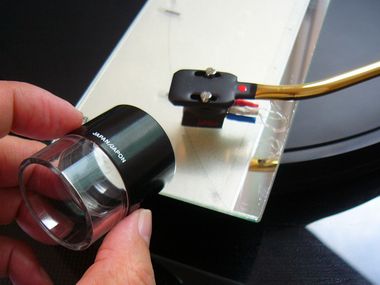
| When using the Peak Lupe 10X magnifier, have the glass
pointing in front. -- Place the glass real close to the stylus tip. And hand move the Lupe AWAY from the object to get the focus. -- Have both eyes open. Look at the magnified image in a very relax manner. This may not be the perfect tool for the purpose, but if we measure value for money performance we cannot find any other alternatives. |
 |
|
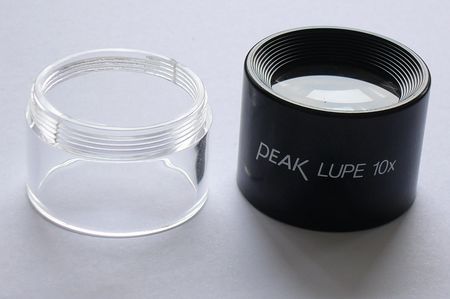
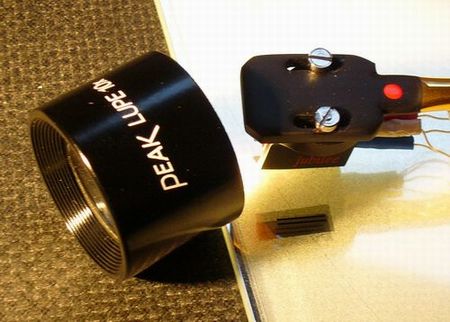
The Peak Lupe we recommend has got the power and good image. The drawback is it has a thick housing and this prevents it from viewing the stylus tip behind a very low cartridge wall. In such case unscrew and detach the transparent lower half housing from the Lupe. |
 |
|
By doing this you may view the stylus tip at an angle. Not a perfect way but it works. |
 |
|
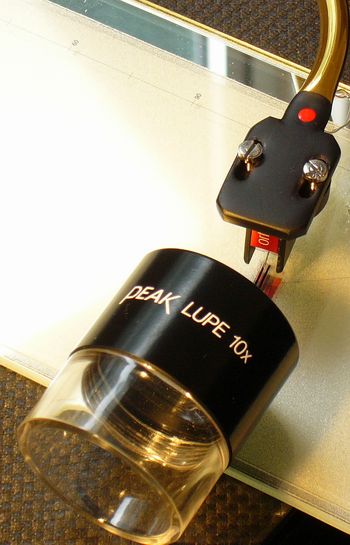 |
One important function of the Peak Lupe is to ascertain your stylus tip [ie the diamond] is put right spot on the Null Point sight line for judging perfect alignment. This is a most important step. If the stylus tip is not on spot then the whole exercise becomes meaningless. |
 |
| Through the 3X magnifier, you should be
able to come to the above scenario after you have
ascertain the stylus tip falls on each and every point
onto the Effective Length Arc. The above photo is supplied by a UK user, Kam. Texts and Arrows are prepared by us. Thanks a lot, Kam! |
E. Azimuth For fine tune adjustment, put the stylus diamond tip on a blank disc or good mirror and look at the reflection. Use the 3X magnifier to help you. Take a serious look at the diamond tip sitting on the disc. You have to listen to the music to decide. Adjustment should be done within the limit that the diamond tip must look good to your eyes - this is the most important reference. Azimuth is critical! |
 |
Reference Azimuth Discussions: 1. Peter Ledermann of Soundsmith2. Joel Durand of Durand Tonearms
|
WE know there are some electronic devices for helping to determine the correct setting for azimuth. However, there are times that these devices tell you need to have a most extreme angle to achieve the best reading. Indeed by tuning the cartridge to one side over 5 degrees the diamond tip effectively is made to become a Hard and Sharp Cutter on your very soft material of your vinyl LP and Could result in permanent damage to the tracks. |
| F. Anti Skate Again Peter Ledermann of Soundsmith has a details explanation on this topic. Part 2 he has made a suggestion on how to adjust the Antiskating force of your tonearm which is similar to what we are doing with our setup. |
|
| G. VTA |
| For setting VTA, I suggest this
method:
a. listen to a LP with bass - my reference is a Dire Straits - six blade life. But any LP of your like will do b. lower the VTA by 0.2mm and listen again. c. repeat this exercise until you are sure you have too much bass and the sound becomes murky. d. raise the VTA by 0.2mm and listen. e. stop when you have come to a music picture when there is a good balance of bass and highs. I totally agree with Kuzma: "Beware of falling into the trap of accepting a too HIFI sound as opposed to a less bright , less spectacular, but more correct sound." http://www.kuzma.si/media/uploads/files/Setting%20up%20a%20Turntable.pdf |
| H.
Phono Amp Loading This is a very important area of getting good sound. Again it is easy to make mistakes and one must preform a listening test to confirm the appropriate value of impedance loading. I find the following link
very useful. It suggest we start a value with 25 times
the internal resistance of a cartridge and then perform
listening test within the range of +/-50% of the start
value. This Link should be read
carefully: |